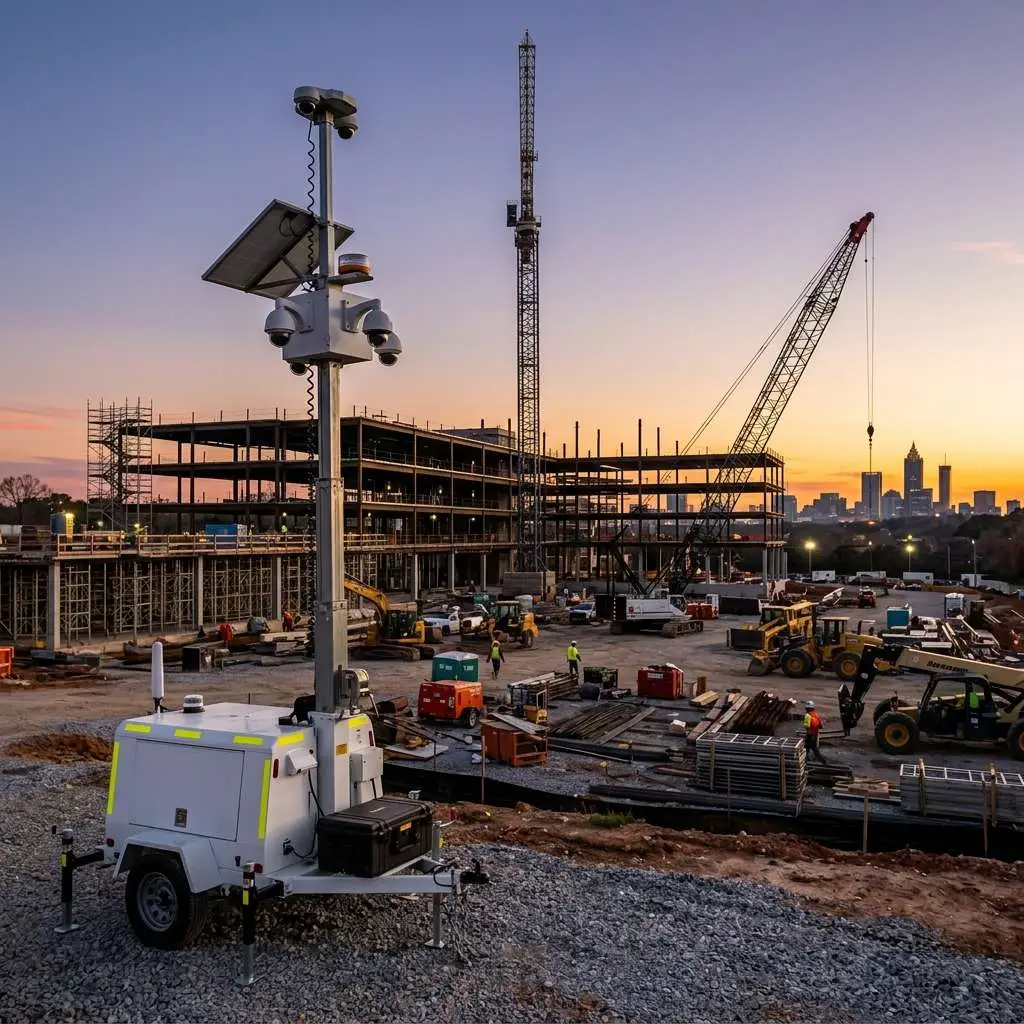
A commercial security camera installation involves more moving parts than most business owners expect — and more opportunities for something to go wrong if the process is not managed deliberately. This checklist covers every stage from pre-installation planning through post-installation sign-off. Use it to prepare for an installation, to evaluate a contractor’s process, or to audit an existing system for gaps.
Phase 1: Pre-Installation Planning
Site Assessment
- [ ] Walk the entire facility with the installer — not just a phone call or a floor plan review
- [ ] Identify all entry and exit points: doors, loading bays, emergency exits, windows
- [ ] Identify high-value areas: cash handling, safes, inventory storage, server rooms
- [ ] Identify high-traffic areas: lobbies, hallways, registers, time clocks
- [ ] Note exterior perimeter: parking, dumpsters, delivery access, fencing
- [ ] Identify transitional spaces: covered loading areas, vestibules, open-air corridors
- [ ] Document existing network infrastructure: switch locations, available ports, bandwidth
Camera Layout Design
- [ ] Receive a written camera placement diagram — not just a verbal description
- [ ] Verify every entry/exit point has coverage
- [ ] Verify high-value areas have close-up coverage adequate to identify individuals
- [ ] Verify parking and exterior perimeter coverage is continuous with no blind spots
- [ ] Confirm field-of-view for each camera is appropriate to the area covered
- [ ] Confirm camera height and angle will capture usable facial detail at entry points (8–10 ft, angled down)
- [ ] Confirm outdoor cameras are IP65 or higher rated for their exposure level
- [ ] Confirm cameras in accessible locations have appropriate IK (vandal-resistance) ratings
Equipment Specification
- [ ] Confirm camera resolution meets your requirements (4MP minimum recommended for commercial use)
- [ ] Confirm NVR storage capacity provides your required retention period (typically 30–90 days)
- [ ] Confirm NVR has adequate channel capacity plus headroom for future cameras
- [ ] Confirm PoE switch has enough ports and sufficient wattage budget for all cameras
- [ ] Confirm cabling type (Cat5e minimum; Cat6 recommended for new installations)
- [ ] Confirm all equipment is commercial-grade, not consumer/prosumer (Hikvision, Dahua, Axis, Hanwha)
- [ ] Get written specifications for every component before installation begins
Logistics and Permits
- [ ] Confirm installer carries low-voltage contractor license for your state
- [ ] Confirm installer carries general liability insurance (ask for certificate)
- [ ] Determine if local code requires a permit for low-voltage installation in your jurisdiction
- [ ] Notify tenants or staff of installation date and expected disruption
- [ ] Arrange access to all areas including locked rooms and roof access if required
- [ ] Confirm NVR installation location: climate-controlled, secure, with power and network access
Phase 2: Day-of-Installation
Cable Runs
- [ ] All cable runs are concealed where possible (above ceiling tiles, inside conduit, through walls)
- [ ] Cables passing through fire-rated walls are properly fire-stopped
- [ ] Conduit used where cables are exposed in public or accessible areas
- [ ] No cables are run in ways that create trip hazards or are exposed to damage
- [ ] All cable runs are labeled at both ends
- [ ] Maximum cable run length does not exceed 328 feet (100m) without a midspan extender
Camera Mounting
- [ ] Each camera is mounted at the planned height and angle per the layout diagram
- [ ] Mounting hardware is appropriate for the surface (concrete anchors for masonry, not drywall anchors)
- [ ] Exterior cameras have weatherproof junction boxes or conduit fittings at the wall entry
- [ ] Camera housings are tight — no gaps that allow insect or moisture intrusion
- [ ] Camera aim is verified with a live image on a laptop or tablet before finalizing mount
NVR and Network
- [ ] NVR is rack-mounted or secured — not sitting loose on a shelf
- [ ] NVR is connected to a UPS (uninterruptible power supply) to survive brief power interruptions
- [ ] All cameras appear online in the NVR interface before the installer leaves
- [ ] Recording is confirmed active on all channels (not just live view)
- [ ] Motion detection zones are configured for key areas
- [ ] Recording schedule is set to continuous or motion-triggered based on your requirements
- [ ] Storage is confirmed adequate: verify estimated days of retention in NVR interface
Phase 3: Post-Installation Sign-Off
Image Quality Verification
- [ ] Review live image from every camera — no blurry lenses, no obstructions, no glare issues
- [ ] Walk through the field of view for each camera to confirm coverage matches the plan
- [ ] Test night vision on exterior cameras after dark — confirm infrared range is adequate
- [ ] Test WDR (wide dynamic range) at entry points where backlight from windows is an issue
Remote Access Setup
- [ ] Remote access is configured and tested on your smartphone and/or desktop
- [ ] Default admin password on NVR is changed to a unique, strong password
- [ ] All default passwords on cameras are changed
- [ ] Access credentials are documented and stored securely (not on a sticky note on the NVR)
- [ ] Firmware on cameras and NVR is updated to the current stable version
Documentation and Training
- [ ] Receive a copy of the as-built camera layout diagram showing final camera positions
- [ ] Receive written documentation of all equipment: make, model, serial numbers
- [ ] Receive copy of warranty terms for both equipment and labor
- [ ] Staff who will use the system are trained on live viewing and playback
- [ ] You know who to call for technical support and what the response time commitment is
Final Walkthrough
- [ ] Walk all camera positions with the installer and confirm each one against the original layout
- [ ] Confirm all areas you specified for coverage are actually covered
- [ ] Confirm no obvious blind spots at critical positions
- [ ] Test playback: retrieve footage from 30 minutes ago on at least 3 cameras
- [ ] Confirm installer cleans up all debris, cable scraps, and packaging
Ongoing: 30-Day Follow-Up Checklist
- [ ] Check NVR storage consumption after 30 days — confirm retention estimate was accurate
- [ ] Review footage from a random date and time — confirm quality holds up over time
- [ ] Check all cameras are still online (no offline indicators in NVR)
- [ ] Verify remote access still works from your mobile device
- [ ] Note any coverage gaps discovered during normal operations and address with your installer
A thorough commercial installation does not end when the installer walks out the door. The 30-day follow-up is where gaps are caught before they become an incident report. Edge CCTV includes a 30-day check-in on all installations. Contact us to schedule your free assessment.
More in this series
DIY vs. Professional Installation|Questions to Ask Your Installer|Before You Install Cameras|Eliminating Camera Blind Spots
Related Guide
{“@context”:”https://schema.org”,”@type”:”Article”,”headline”:”Security Camera Installation Checklist for Businesses”,”url”:”https://edgebusinesssecuritycameras.com/security-camera-installation-checklist-business/”,”datePublished”:”2026-06-26″,”dateModified”:”2026-06-26″,”author”:{“@type”:”Organization”,”name”:”Edge CCTV”,”url”:”https://edgebusinesssecuritycameras.com”},”publisher”:{“@type”:”Organization”,”name”:”Edge CCTV”,”url”:”https://edgebusinesssecuritycameras.com”,”logo”:{“@type”:”ImageObject”,”url”:”https://edgebusinesssecuritycameras.com/wp-content/uploads/2025/10/Edge-Logo-696×696-1.webp”}},”mainEntityOfPage”:{“@type”:”WebPage”,”@id”:”https://edgebusinesssecuritycameras.com/security-camera-installation-checklist-business/”}}

About the Author
Bobby Edwards is the Operations Manager at Edge CCTV, where he has been overseeing commercial security camera installations across the Southeast since 2014. A TRENDnet Certified Network Engineer (TNCE) and GA 811-credentialed technician, Bobby manages installation crews, designs camera layouts for new projects, and ensures every system meets the technical standards that keep it running for years. More from Bobby Edwards.