Why Self-Storage Facilities Face Unique Security Challenges
Self-storage properties occupy a peculiar place in the commercial security landscape. They are large, sprawling outdoor complexes often spanning several acres that operate around the clock, frequently without a single staff member on site during evening and overnight hours. Customers hold gate codes, come and go at all hours, and expect immediate access to their units whenever they need it. That combination of large footprint, minimal supervision, and continuous access creates a security environment that is considerably more difficult to manage than a retail store, office building, or even a warehouse with a fixed operating schedule.
The threat profile is equally challenging. Theft and vandalism are persistent problems at self-storage facilities. Unit break-ins, opportunistic thefts from units left momentarily open, vehicle break-ins in drive-up areas, graffiti along perimeter fencing, and trespassers using the property after hours are all documented, recurring incidents in the industry. Without a comprehensive camera system backed by reliable monitoring and recording infrastructure, operators are left responding to losses after the fact with little to no visual evidence to support an insurance claim or police investigation.
A well-designed security camera system cannot eliminate every risk, but it dramatically reduces it. More importantly, it gives operators the documentation they need when incidents do occur. This guide walks through every critical zone of a self-storage facility and explains how to cover each one effectively.
Entry Gate Coverage: Capturing Who Comes In and Out
The entry gate is the first and most important chokepoint in any self-storage security system. Every legitimate customer must pass through it, and any unauthorized entry that bypasses it immediately signals a problem. Camera placement at the entry gate serves two purposes: deterrence and documentation.
Camera Placement at the Gate
At minimum, every entry gate should have two dedicated cameras:
- A forward-facing camera positioned to capture the front of the vehicle as it approaches the gate, including the full vehicle, its color, and the driver through the windshield.
- A driver-side camera angled toward the keypad or intercom at a height that captures the driver face and upper body as they reach out to enter their code.
The goal of both cameras is straightforward visual identification: an operator reviewing the footage should be able to clearly see what vehicle entered the facility and who was driving it. This is not about automated systems. It is about having usable, human-readable footage that can be handed to law enforcement or an insurance adjuster and clearly demonstrate who was on the property at a given time.
Exit gates warrant the same treatment. A customer who entered with a valid code but left without closing a unit they broke into will appear on exit footage, and that footage may be the only record that they were the last person on the property before a unit was discovered ransacked.
Night Visibility at the Gate
Gate cameras must function effectively at night. Pair each gate camera with a dedicated overhead light fixture or use cameras equipped with built-in infrared illuminators. Color cameras with starlight sensors can preserve color detail in low-light conditions, which is particularly useful for vehicle identification. Where ambient light is near zero, IR illuminators are essential. Standard color cameras in unlit environments produce footage that is effectively useless for identification purposes.
Unit Corridor Coverage: Eliminating Blind Spots Across Every Aisle
The interior drive aisles of a self-storage facility are the corridors lined on both sides with roll-up unit doors where most theft incidents actually occur. A camera system that covers the gate but ignores the aisles provides only partial protection.
Placement Strategy for Drive-Up Aisles
Each aisle requires at minimum one camera at each end, mounted high on a pole or building wall, angled down the length of the corridor. This configuration allows a single camera to capture activity along many unit doors in a single field of view. For long aisles exceeding 150 feet, consider a mid-aisle camera as well to ensure facial-level detail is available from footage, not just overhead silhouettes.
Camera height matters significantly. Cameras mounted too high above 14 to 16 feet tend to produce overhead footage that is useful for detecting activity but poor for identifying individuals. Mounting at 10 to 12 feet with a downward angle of 15 to 25 degrees strikes the best balance between wide aisle coverage and usable facial detail.
Addressing Corners and Perpendicular Aisles
Most self-storage layouts include perpendicular intersections where aisles cross. These corners represent natural blind spots. Place cameras at intersections with a wide-angle lens capable of covering both the crossing aisles and the immediate corner area. Fixed wide-angle cameras at each four-way aisle intersection are essential for eliminating coverage gaps.
Climate-Controlled Interior Buildings
Many modern self-storage facilities include enclosed, climate-controlled buildings with interior hallways, elevator lobbies, and stairwells. These areas introduce the same challenges as warehouse interior coverage: longer corridors, controlled access via interior keypads, and typically lower ambient light than outdoor drive areas.
Interior Hallway Coverage
Apply the same end-of-aisle approach used outdoors. Mount cameras at corridor entry points and at regular intervals down long hallways. In narrower interior corridors under 6 feet wide, cameras with a 90-degree to 110-degree horizontal field of view will typically cover the full width of the hallway while maintaining usable detail along its length.
Lighting in Interior Buildings
Motion-activated lighting is common in climate-controlled storage buildings as an energy-saving measure. While convenient for tenants, it creates a problem for security cameras. A dark hallway with no motion will produce no usable footage if someone is moving slowly or hiding in a doorway. Supplement corridor lighting with low-wattage continuous ambient lighting, or configure camera recording schedules to trigger IR illuminators when motion-activated lights are off. Cameras with built-in IR capability will fall back automatically to infrared imaging when lights go out, but an IR range of at least 60 to 80 feet is required for long interior hallways.
Office and Payment Kiosk Area
Many self-storage facilities have either a staffed office during business hours or an unmanned payment kiosk for after-hours account management. Both areas require dedicated camera coverage for different reasons.
Office Coverage
When staff are present, office cameras serve to document customer interactions, package acceptance, and cash or card payment transactions. Position one camera behind the counter facing the customer side of the transaction, and one camera covering the full office interior including any package staging area or key lockbox.
Payment Kiosk Coverage
Unmanned kiosks that accept cash or card payments are attractive targets for skimming devices and physical tampering. A dedicated close-range camera focused on the kiosk face, close enough to capture the hands and face of anyone interacting with the machine, is essential. This camera should record continuously, not just on motion, as sophisticated tamper attempts may involve slow, deliberate movement designed to avoid triggering motion-based recording. Footage from this camera is also critical if a customer later disputes a payment or claims they encountered a fraudulent device.
Perimeter Fencing and Exterior Monitoring
The perimeter fence is the primary physical barrier separating the facility from unauthorized access. Camera coverage of the perimeter fence line serves primarily as a deterrent and as a first-alert mechanism for after-hours intrusion.
Fence Line Camera Placement
Mount cameras at corners and at regular intervals along long fence runs, typically every 100 to 150 feet, angled to provide overlapping coverage of the fence line. The goal is that any section of fence can be seen in the field of view of at least one camera at all times. This overlap ensures that even if a camera is temporarily obscured by a parked vehicle, overgrown vegetation, or intentional blocking, adjacent cameras still capture the area.
Detecting After-Hours Intrusion
Fence-climbers typically approach from outside the property, scope the perimeter, and then attempt to scale the fence at a point that appears unobserved. Cameras with motion-triggered alerts connected to a monitoring service can catch this behavior in the scouting phase, before a breach occurs. Exterior perimeter cameras should have IR range sufficient to cover the area beyond the fence line. Detecting a person approaching the fence from outside is more valuable than detecting them once they have already cleared it.
Lighting Requirements for Effective Night Vision
One of the most commonly overlooked elements of a self-storage security camera system is lighting. Cameras, even those marketed as night vision cameras, do not see in total darkness without assistance. Understanding the relationship between lighting and camera performance is essential for any facility operator specifying a system.
How Light Affects Camera Performance
Color security cameras require a minimum of approximately 0.5 to 1.0 lux of ambient light to produce usable color footage at night. Standard facility lighting such as parking lot fixtures and wall-mounted sconces typically provides 3 to 10 lux in well-lit areas, which is sufficient. Problems arise in poorly lit drive aisles, corners near perimeter fencing, and areas far from pole lights where ambient light drops to near zero.
Infrared Cameras for Zero-Light Zones
In areas where ambient light cannot be practically supplemented, such as remote fence corners and rear drive aisles far from any pole light, use cameras with dedicated infrared (IR) illuminators. IR cameras produce black-and-white footage in the dark but maintain clear detail of faces, vehicle types, and movement. Specify IR range based on the distance you need to cover: a 100-foot aisle requires cameras with at least 100 feet of rated IR throw, and real-world IR performance is typically 20 to 30 percent less than manufacturer specifications, so size up accordingly.
Balancing Lighting and Camera Investment
In many cases, adding a modest LED fixture to a dark drive aisle is more cost-effective than upgrading to a higher-sensitivity camera. Evaluate each zone individually and choose the solution, whether a lighting upgrade, an IR camera, or both, that delivers the best coverage at the most practical cost.
Remote Video Monitoring: Replacing Overnight Guard Presence
A traditional response to the security challenges of self-storage facilities is to hire overnight security guards. Guards are visible deterrents and can respond immediately to incidents on site. They are also expensive. A single full-time overnight guard position typically costs $40,000 to $65,000 per year in wages and benefits, and many facilities require multiple guards or guard rotations to cover all areas of a large property.
How Remote Video Monitoring Works
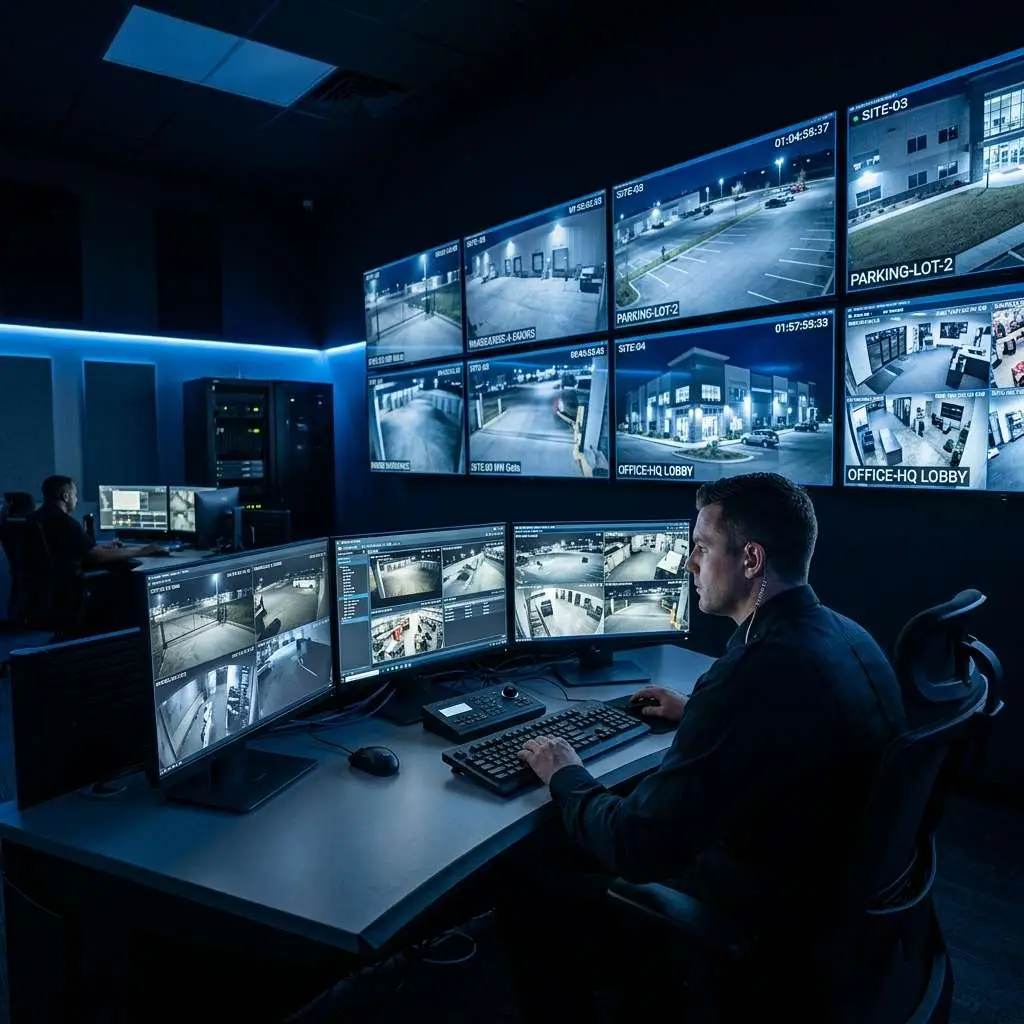
Remote video monitoring services, often called virtual guarding, connect your camera system to a professional monitoring center staffed around the clock. Monitoring agents review live feeds, respond to motion alerts, and can intervene by activating on-site speakers to issue audio challenges to anyone detected on the property after hours. In confirmed intrusion events, the monitoring center contacts local law enforcement directly, with live footage available to guide officers responding to the call.
Cost Comparison
Monthly fees for professional remote video monitoring services typically range from $200 to $800 per month depending on the number of cameras, alert volume, and response protocol complexity. Even at the high end of that range, the annual cost of remote monitoring is a fraction of a single guard salary. Monitoring agents can watch multiple camera feeds simultaneously, covering every zone of a large facility at once. No guard can be in six aisles at the same time; a monitoring center can.
Response Protocols
Work with your monitoring provider to establish clear escalation protocols: what triggers an audio warning, when law enforcement is called directly, and how footage clips from incidents are preserved and delivered to you. Self-storage facilities with remote monitoring in place report significant reductions in after-hours incidents. Visible cameras combined with posted signage about active monitoring deter would-be intruders before they act.
Access Control Integration: Correlating Gate Codes with Camera Footage
Modern self-storage access control systems assign unique gate codes to each tenant and log every entry event, including the date, time, and which code was used. This data becomes dramatically more valuable when correlated with camera footage from the same time window.
How Integration Works
When a tenant enters the facility using their unique code, the access control system creates a timestamped log entry. A security system that integrates access control with the camera system can automatically pull the camera footage from the gate and the relevant drive aisle for that exact time window. Instead of searching through hours of footage to find when a specific unit may have been accessed, an operator can look up the access log, find the entry time, and jump directly to the corresponding footage in seconds.
Investigating Disputes and Incidents
This integration is particularly useful in tenant disputes. If a tenant claims their unit was broken into during a specific period, the access log shows who entered the facility during that window. The camera footage then shows exactly what happened in the relevant aisles. Together, this evidence can exonerate an innocent party or clearly implicate a specific individual. Without the access log correlation, even good camera footage may be difficult to connect to a specific tenant or time period without hours of manual review.
What to Do When Footage Shows a Break-In
Discovering that footage captures a break-in event is only the beginning of the documentation process. How you handle that footage in the hours and days after discovery directly affects its usefulness for law enforcement and insurance purposes.
Exporting and Preserving Footage
Export the relevant footage immediately. Do not rely on the DVR or NVR overwriting it before you act. Most systems overwrite footage on a rolling basis, and the relevant time window can be lost within days or weeks if not exported. Export the raw, unedited footage file in its native format to a USB drive or secure network location. Do not edit, compress, or alter the file in any way. Any modification can compromise its admissibility as evidence.
Chain of Custody
Document who exported the footage, when, and where it is stored. Create a written log noting the file name, the time range it covers, the camera it was taken from, and the name of the person who exported it. If law enforcement requests a copy, provide an unaltered duplicate and never the original file. Maintaining an unbroken chain of custody ensures the footage remains useful in any legal proceeding.
Filing a Police Report and Insurance Claim
File a police report immediately upon discovering the break-in, even if the incident appears minor. Provide the responding officer with the access log for the relevant time window and a copy of the exported footage. For insurance claims, your carrier will typically request the police report number, the footage export, and a written incident summary. Facilities with documented camera systems and off-site backup of footage consistently achieve faster claim resolutions than those relying on physical evidence alone.
Cloud Backup: Off-Site Footage Redundancy Is Non-Negotiable
A self-storage facility with no full-time on-site manager has a specific and serious vulnerability: if the on-site recording equipment is stolen, damaged, or destroyed, all locally stored footage goes with it. This scenario is not hypothetical. Experienced thieves specifically target DVRs and NVRs during break-ins precisely to eliminate the footage record of their activity.
Why Cloud Backup Matters
Cloud-based or off-site footage backup sends a copy of recorded video to a remote server in near real time. Even if every piece of on-site recording hardware is taken or destroyed, the footage up to the moment of the incident remains intact and accessible. For a facility that may not discover a break-in until the following morning, this redundancy can be the difference between a prosecutable case and a complete dead end.
Implementation Options
Many modern NVR and camera systems offer built-in cloud backup subscriptions. Alternatively, edge-recording cameras with SD card storage paired with cloud sync can provide a cost-effective redundancy layer without replacing existing infrastructure. At minimum, configure the system to retain off-site backup copies of all footage for a minimum of 30 days. A retention window of 60 to 90 days is preferable for facilities that may not audit footage unless an incident is reported.
Protecting the Recording Hardware Itself
In addition to cloud backup, physically secure on-site recording hardware. Mount DVRs and NVRs in a locked, ventilated metal cabinet inside a secured office or utility room, and never in an openly accessible location. Facilities that combine physical hardware security with off-site cloud backup are the most resilient against the theft-and-destroy scenario that defeats simpler systems.
More in this series
Construction Site Theft Prevention Guide|Outdoor Security Camera Systems|Virtual Guard vs. Security Guard|Warehouse Security Camera Placement Guide|
Explore our complete self-storage facility security solutions, including gate access control, virtual guard monitoring, and multi-location management designed for storage operators across Metro Atlanta.
Related Guide

About the Author
Kevin Harkins is the Director of Sales at Edge CCTV, where he has spent 10 years helping business owners design and implement commercial security camera systems across Atlanta, Birmingham, Chattanooga, and beyond. Starting as an Outside Sales Representative and working his way up through Sales Manager to Director of Sales, Kevin has guided hundreds of businesses through the process of evaluating, specifying, and installing the right system for their facility. More from Kevin Harkins.